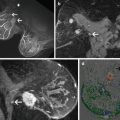
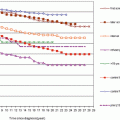
Fig. 5.1
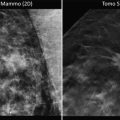
Ducto-radial scan in ultrasound examination of the breast; lobe with a structural anomaly situated at a distance of 50 mm from the nipple; irregular patterns along the main duct and the longitudinal axis of the lobe
The patient is placed on the operating table with the arm at 90°.
At this point a “real-time” ultrasound localization of the cancer and evaluation of the nearby tissues is performed (see Figs. 5.2 and 5.3).
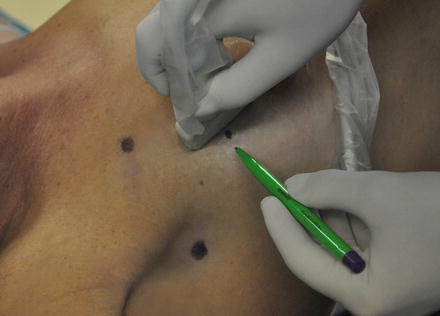
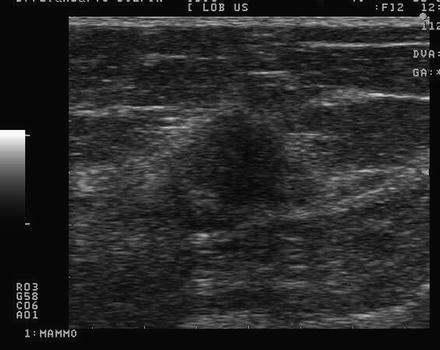

Fig. 5.2
The surgeon controls, with the ducto-radial method scanning, the lesion and the nearby tissues and marks its epidermic correspondence

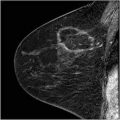
Fig. 5.3
Ultrasonic picture of the lesion
An outline of the ductal axis and associated abnormalities is then outlined on the overlying skin with a marker. The duct is traced from the nipple areola border to the distal end (see Fig. 5.4).
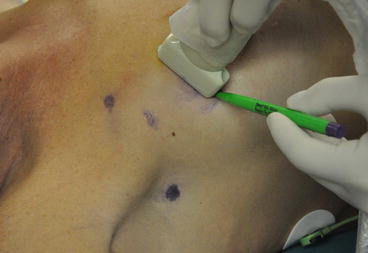

Fig. 5.4
Antiradial scan and draw of the lateral zone, marking the limits of the lesion and nearby modified areas
A transverse evaluation of the lobe is now performed which marks the lateral extent of the resection inclusive of a 10 mm “bulge” around the affected zone (see Fig. 5.5).
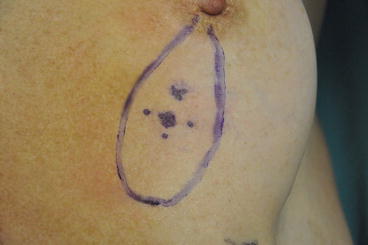

Fig. 5.5
Design of the lateral surgical resection borders, containing the affected lobe, whose borders are distant unless 10 mm from the lesion’s localization
Evaluate the glandular area to be removed (length of duct) and draw a triangular area2 (apex at N.A.) overlying the duct (base at peripheral limit of duct) (see Fig. 5.6).
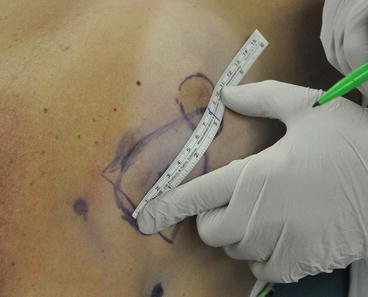

Fig. 5.6
The figure of the glandular area to remove is assimilated to a triangle area
It is important to remember one should consider removal of an area of periareolar epidermis (circular sector) corresponding to the surface of the skin area above the lobe to be removed.
Mark the border of the areola. Evaluate the skin area to be removed around the areola. It must be equal to an annulus of epidermis with the inner circumference already marked.
You can apply the formula of the annulus3 to obtain the radius (R) of the outer circumference of the annulus: the distance between the nipple and the maior circle.
Then draw points to obtain the second circumference with radius R and one arrives at the expected circular ring. At this point the area to be removed is known. It must be equal to the breast parenchymal area removed (see Fig. 5.7).
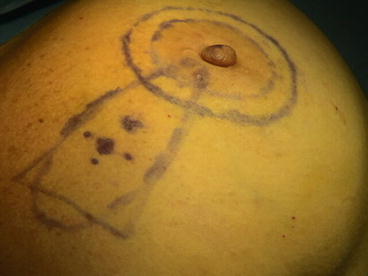

Fig. 5.7
Design of the periareolar circular ring
Bear in mind that the skin area limited by the picture of the annulus corresponds to the area of the redundant skin that must be removed in order to balance the deficit of glandular tissue removed in the lobar resection.
Procedural Steps
Axillary evaluation if required.
With the breast cone stetched, start with the incision along the areola border and continue the incision along both the superior and inferior line of resection (see Fig. 5.8).
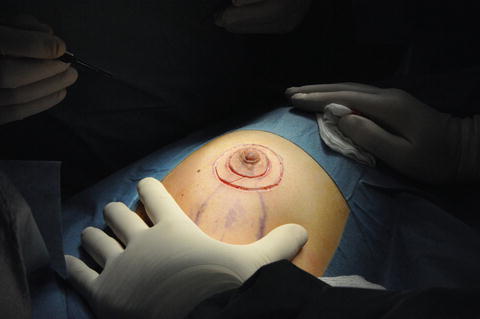

Fig. 5.8
Incision of the two circumferences of the periareolar circular ring
This is followed by the removal of the epithelial strip in the marked zone between the areola line and the outside perimeter, keeping the vascular plexus undamaged (see Fig. 5.9). This is essential for the visibility of the areola–nipple complex (see Fig. 5.10).
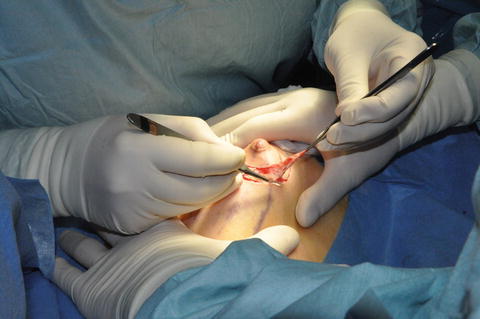
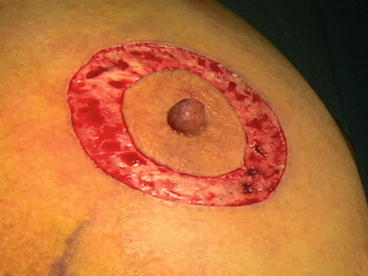

Fig. 5.9
Starting of removal of the epithelium between the two circumferences of the circular ring

Fig. 5.10
Epithelium removed around the nipple
The dermis is incised on the outside perimeter along the outlined length to expose the breast parenchyma in order to proceed with the resection of the fixed glandular portion (see Fig. 5.11).
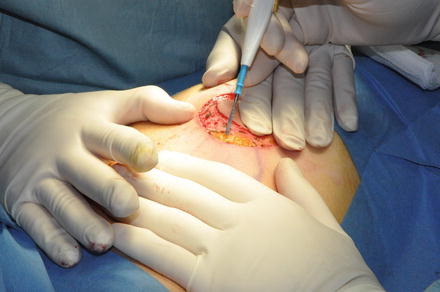

Fig. 5.11
Incision of the outside perimeter
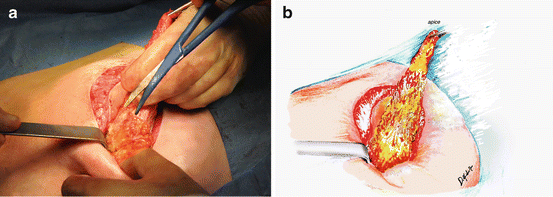
A subcutaneous dissection of the nipple (3–4 mm in depth) is then done. Grasp the zone with a forceps, to mark the central point of resection (see Fig. 5.12a and b). Now grasp the point just distal to this and incise between the graspers. Proceed to dissect the segment from its subcutaneous attachments, deep to the fascia or fascial space (Fig. 5.13).
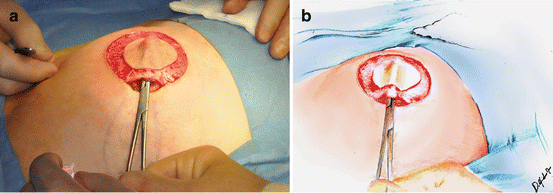
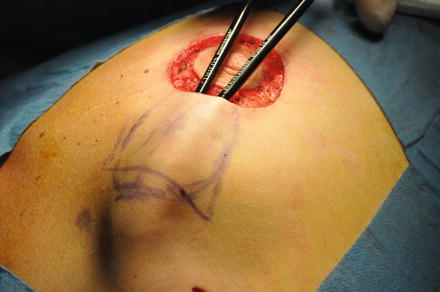

Fig. 5.12
(a) Forceps under the nipple. (b) Design of the operatory field

Fig. 5.13
Detachment of the gland from subcutaneous tissue
Pulling up on the top of the lobe (see Fig. 5.14 ) you proceed with the dissective peripheral incision till the end of the lobe and then remove it (see Fig 5.15 ).
